Android Development - (1) Getting Started 👽
Android Studio is the official IDE for Android, so I obediently decided to use it!
Setting up the environment and making a “Hello World” program
- Install Android Studio (Java is already installed, of course!).
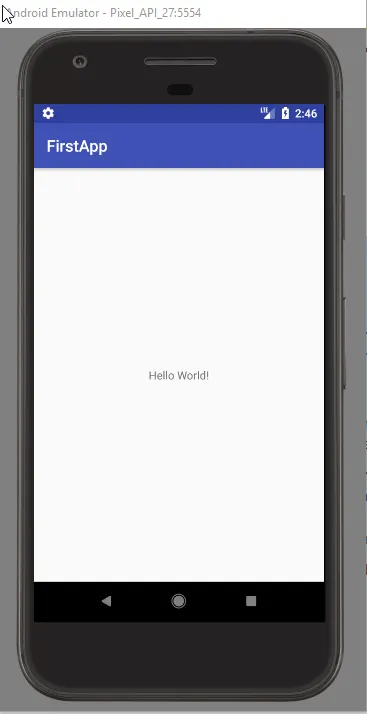
- Create a new project with an “Empty Activity”. By default, this should give a screen with “Hello World”.
- Build the project.
- Install anything additional if prompted.
- Run the project and select an AVD (Android Virtual Device). I selected the default AVD and got an error. It stated that Vtx needed to be enabled in the BIOS. Vtx is to permit hardware acceleration for virtualization to run AVDs. I enabled this in the BIOS and rebooted.
- The AVD loaded this time but it didn’t display the program properly.
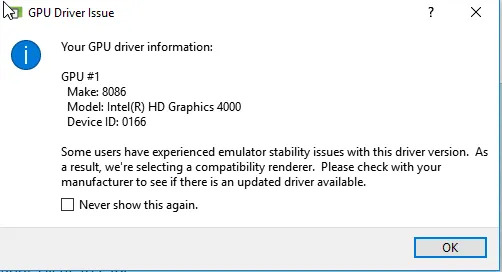
- I created a new AVD with a smaller screen size and it worked, but it gave a warning that there can be stability issues with my graphics device driver.
Pick a tutorial or book
I started with Head First Android to get a fundamental grasp of the Android way of doing things. The code samples from the book can be found in this github repo organized by chapter.
Using someone else’s project
It’s good to be clear on what android version number you need installed, and how to set it in the build process.
Android Version Numbers
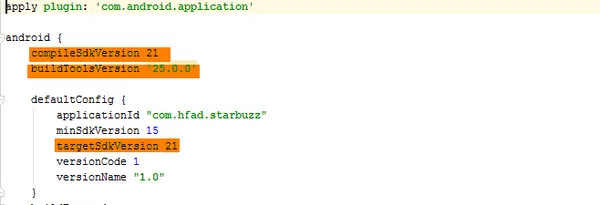
In the gradle file (usually in project folder\app\build.gradle), there are a few different version numbers that you can specify:
- compileSdkVersion : Version that your app is compiled against during development. This means you can use Android API features included in that version (and lower).
- minSdkVersion : Lowest version that can run the app. Generally, it is recommended to try to pick the lowest version that satisfies all of the features you need!
- targetSdkVersion : Highest version that can be used run the app. This is usually the version you test the app against. If you do not specify the targetSdkVersion, it defaults to the minSdkVersion.
Generally, this is followed:
minSdkVersion = targetSdkVersion <= compileSdkVersion
If you want to offer different features based on the android version used at runtime, you can do this:
minSdkVersion <= targetSdkVersion <= compiledSdkVersion (highest possible)
You need to have a version of the Android SDK installed on your computer that supports the compileSdkVersion in build.gradle (equal to or higher than this version number). I changed the version numbers (highlighted fields) and synchronised the project to compile and run the project I downloaded.
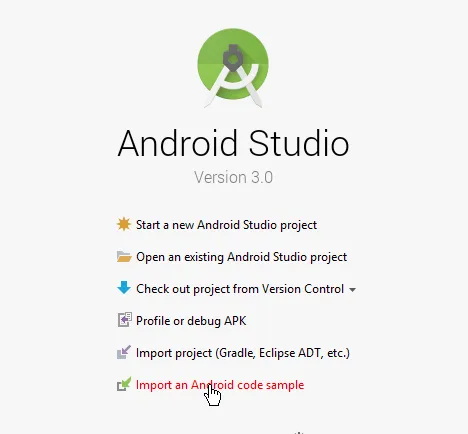
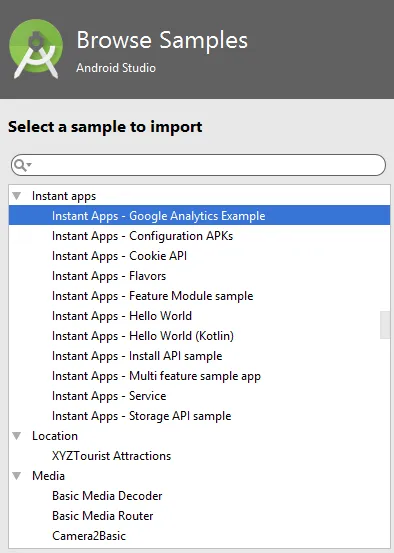
You can also download code samples directly in Android Studio on various different features.
How to run the app on my phone
-
You need to enable the Settings>Developer Options>USB Debugging option on your phone. I have Android 5.1.1 on my phone and I couldn’t find the Developer Options in Settings. After a bit of research, I discovered that you must go to Settings>About phone and hit the build number 7 times to unlock Developer Options. Like a cheat code on a computer game! 😀
-
Run the app as usual, just choose your phone from the list of AVDs and Android Studio will install the app on your device and launch it! The app is installed on your phone, so when you disconnect, it is still there!
To directly install the app on your phone
- The apk is the packaged app and should be in “project folder\app\build\outputs\apk\debug”.
- Transfer this file onto your phone and open it, the installer will do the rest. 😀
